Kashipara.com is a community of ONE million programmers and students, Just like you, Helping each other.Join them. It only takes a minute: Sign Up
Job Resume TemplateRaspberry pi iot project components information
The Raspberry Pi is a small computer that can do lots of things. You plug it into a monitor and attach a keyboard and mouse.
Raspberry pi circuit information
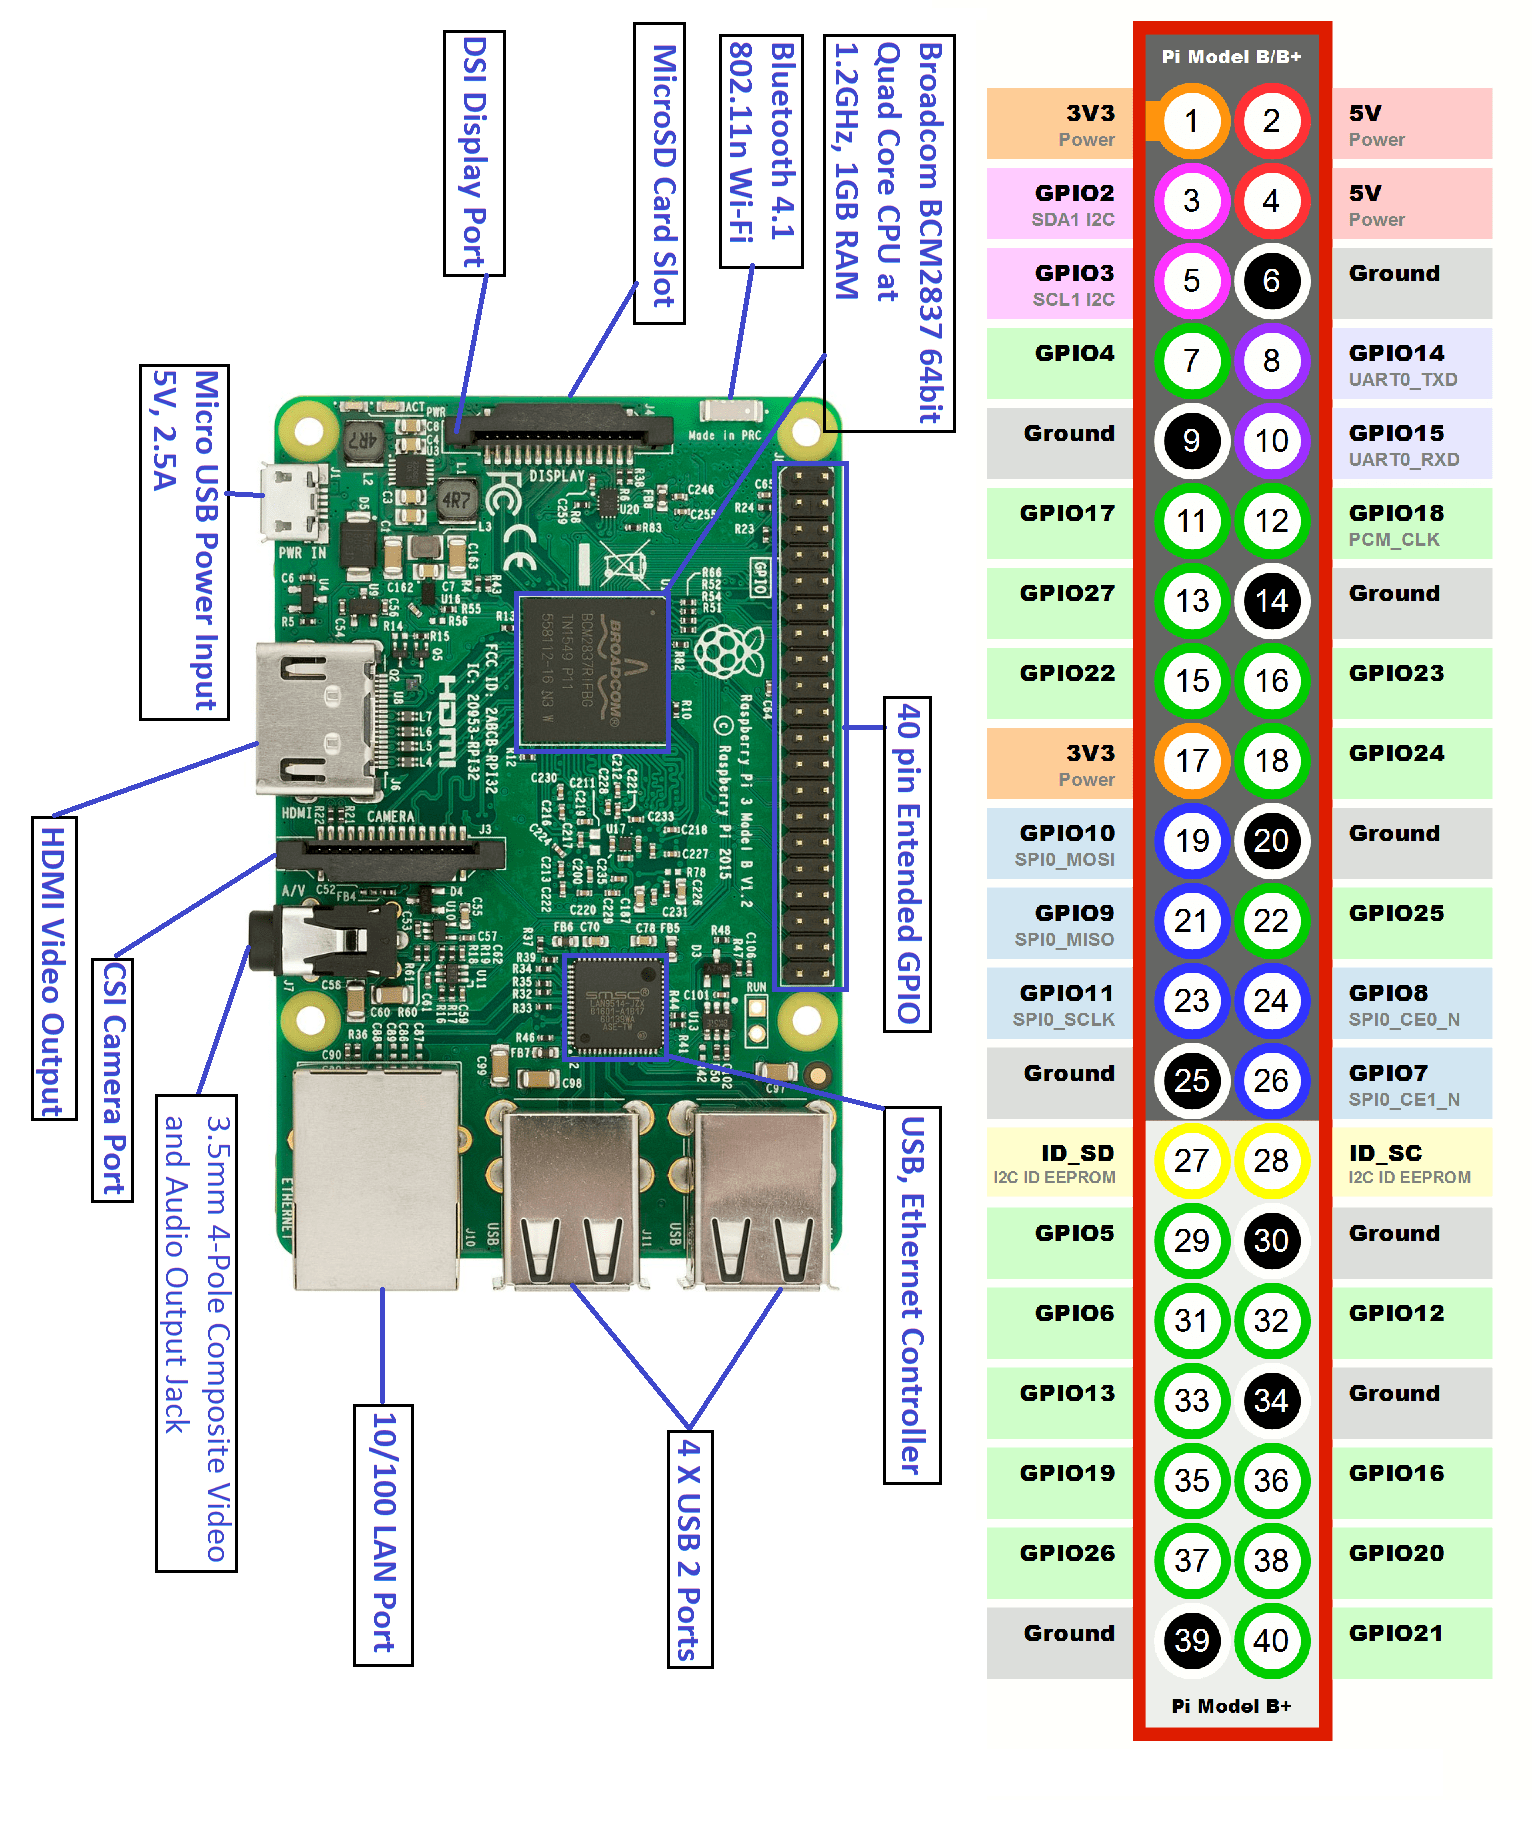
- USB ports - these are used to connect a mouse and keyboard. You can also connect other components, such as a USB drive.
- SD card slot - you can slot the SD card in here. This is where the operating system software and your files are stored.
- Ethernet port - this is used to connect the Raspberry Pi to a network with a cable. The Raspberry Pi can also connect to a network via wireless LAN.
- Audio jack - you can connect headphones or speakers here.
- HDMI port - this is where you connect the monitor (or projector) that you are using to display the output from the Raspberry Pi. If your monitor has speakers, you can also use them to hear sound.
- Micro USB power connector - this is where you connect a power supply. You should always do this last, after you have connected all your other components.
- GPIO ports - these allow you to connect electronic components such as LEDs and buttons to the Raspberry Pi.
What you will need?
Hardware requirements
- A Raspberry Pi computer with an SD card(recommended 32GB)
- A monitor with a cable (and, if needed, an HDMI adaptor)
- A USB keyboard and mouse
- A power supply
- An Ethernet cable (optional)
Software requirements
- Raspbianos ( installed via NOOBS or raspbian)
FOR INSTALLATION
- ETCHER
- SDCARD FORMATER
SET UP RASPBERRY PI
Setting up without using Ethernet cable
- Insert an SD card with Raspbian installed (via NOOBS).
- Connect the mouse to one of the USB port on the Raspberry Pi (it doesn’t matter which one).
- Connect the keyboard in the same way.
- Look at the HDMI port on the Raspberry Pi — notice that it has a large flat side on top.
- Make sure your monitor is plugged into a wall socket and turned on.
- Connect the monitor cable to the Pi’s HDMI port — use an adapter if necessary.
- The Pi will boot up into a graphical desktop.
Setting up using Ethernet cable
- If you want to connect the Pi to the internet via Ethernet, use an Ethernet cable to connect the Ethernet port on the Raspberry Pi to an Ethernet socket on the wall or on your internet router. You don’t need to do this if you’ll be using Wi-Fi or if you don’t want to connect to the internet.
- Sound will come from your screen if it has speakers or you can connect headphones or speakers to the audio jack if you have them.(optional)
- Notice that the micro USB power port has a longer flat side on top.
- Plug the power supply into a socket and connect it to the micro USB power port.
FINISH SETUP
- When you start your Raspberry Pi for the first time, the Welcome to Raspberry Pi application will pop up and guide you through the initial setup.
- Click Next to start the setup.
- Set your Country, Language, and Time zone, then click next again.
- Enter a new password for your Raspberry Pi and click Next.(default user name is pi and password in raspberry)
- Next window is for Wi-Fi connection select one to connect and press next. On the next screen you need to enter password for that wireless connection (Note: if your Raspberry Pi model doesn’t have wireless connectivity, you won’t see this screen.)
- Click Next let the wizard check for updates to Raspbian and install them (this might take a little while).(recommended)
- Click done or Reboot to finish the setup.
- Note: you will only need to reboot if that’s necessary to complete an update.
A quick intro to hardware
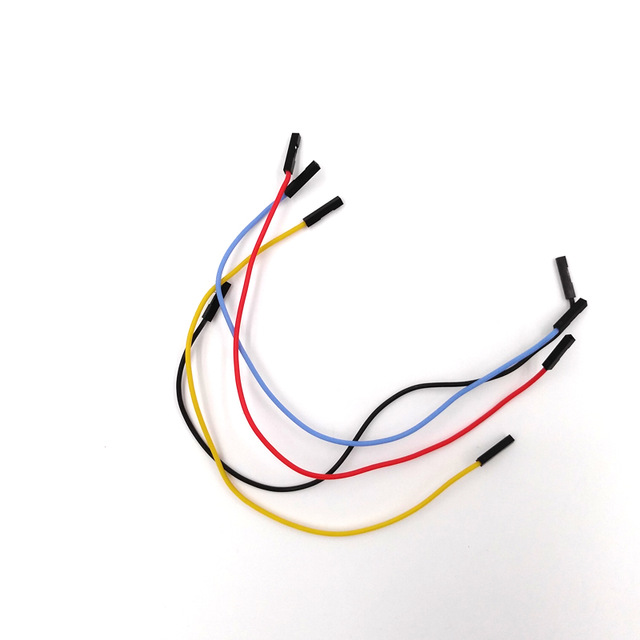
Female to female jumper wire

Male to male jumper wire
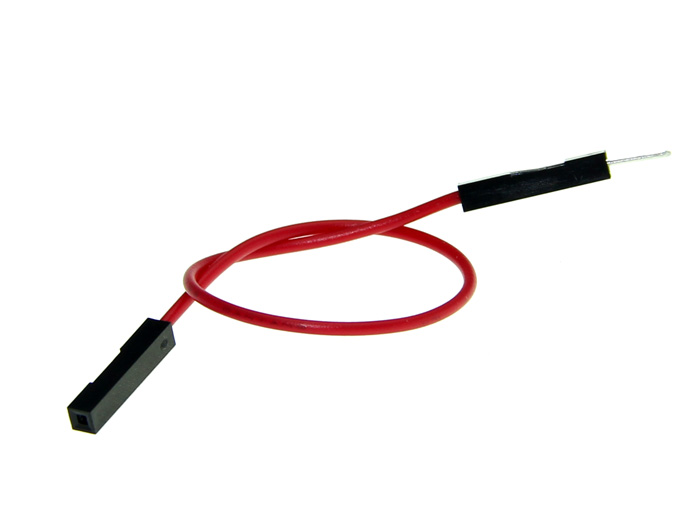
Male to female jumper wire
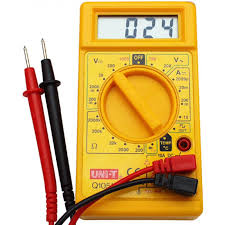
Multi meter

Transistors

Through hole led
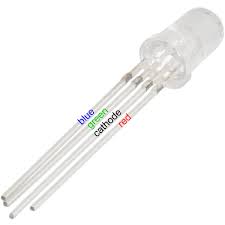
RGB led
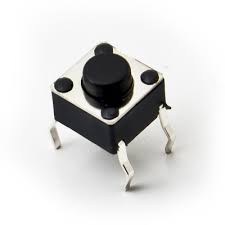
Push button
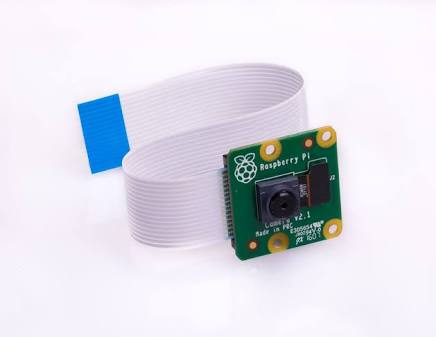
pi camera module

single channel relay
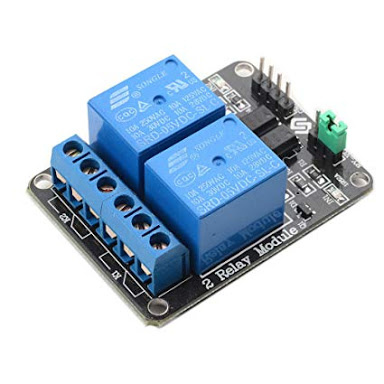
dual channel relay
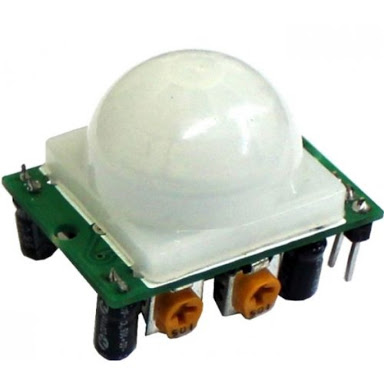
pir(motion) sensor
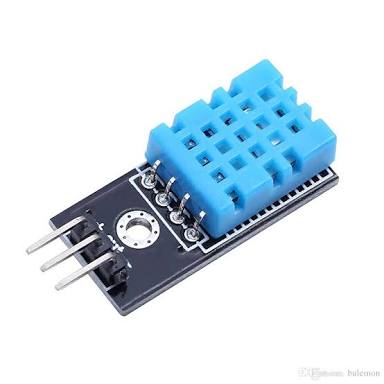
dht temperature sensor
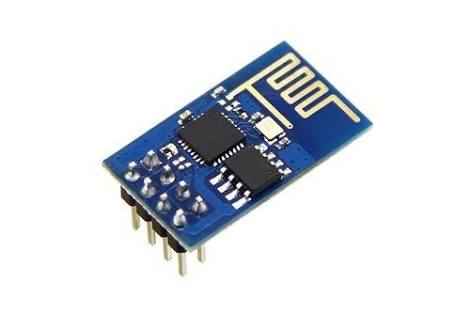
wifi module
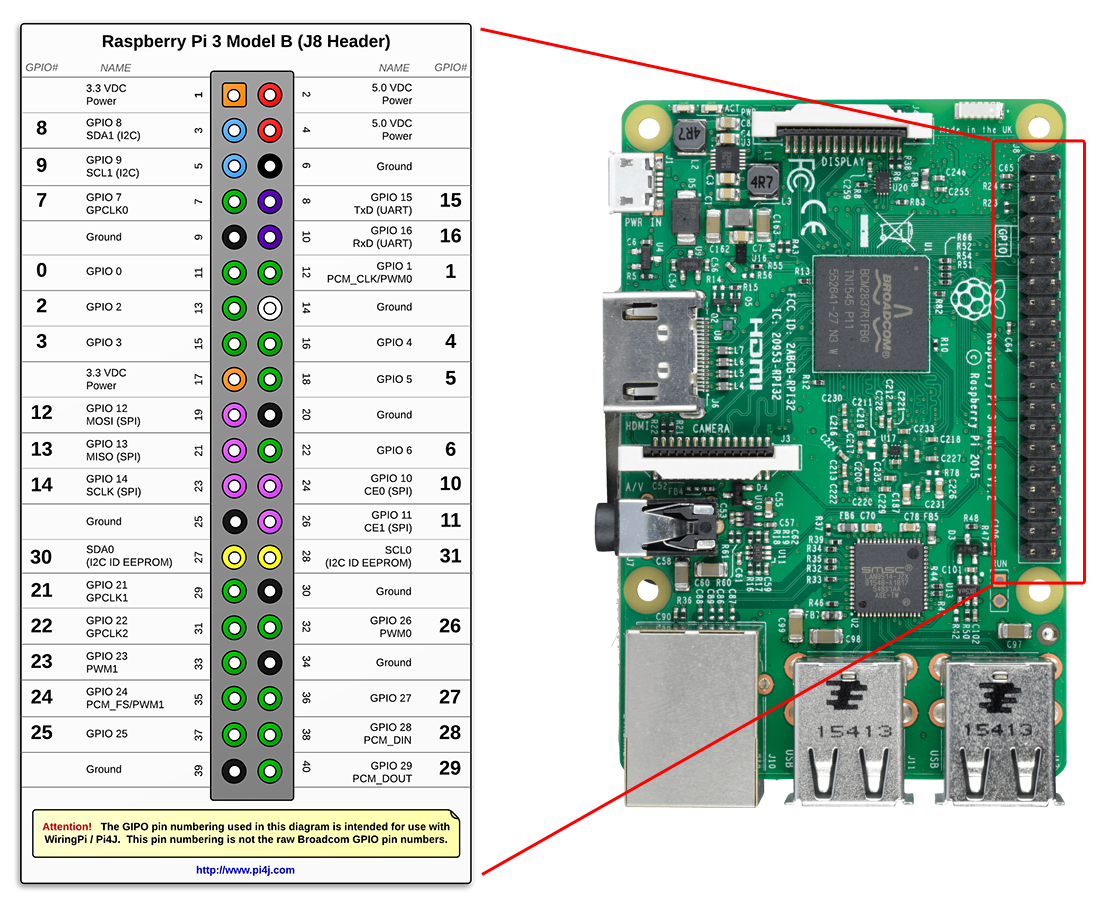
GPIO pin out